Felting Tools and Fibers Tutorial

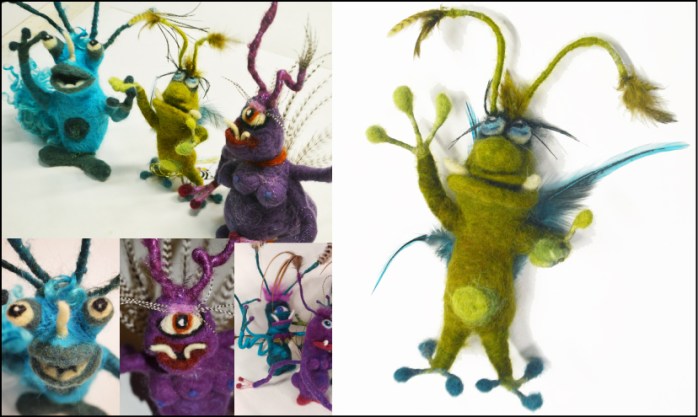
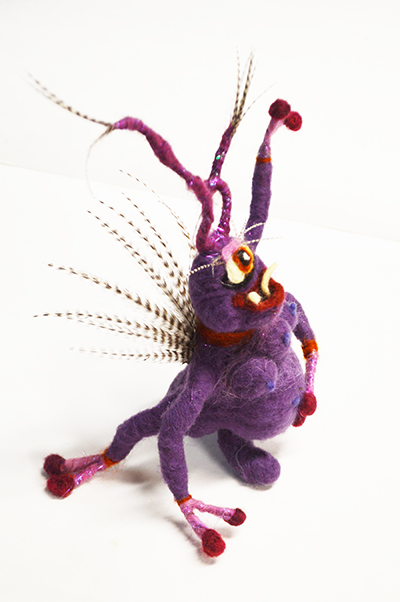
Is it alien to you? Thinking about learning to needle felt but feel a bit overwhelmed as to what supplies you need to get started or how best to begin? Don’t be scared, this blog and video tutorial will help.
Find information about different felting needles, what fibers to use, other tools and even needling techniques with a few helpful links where to find supplies.
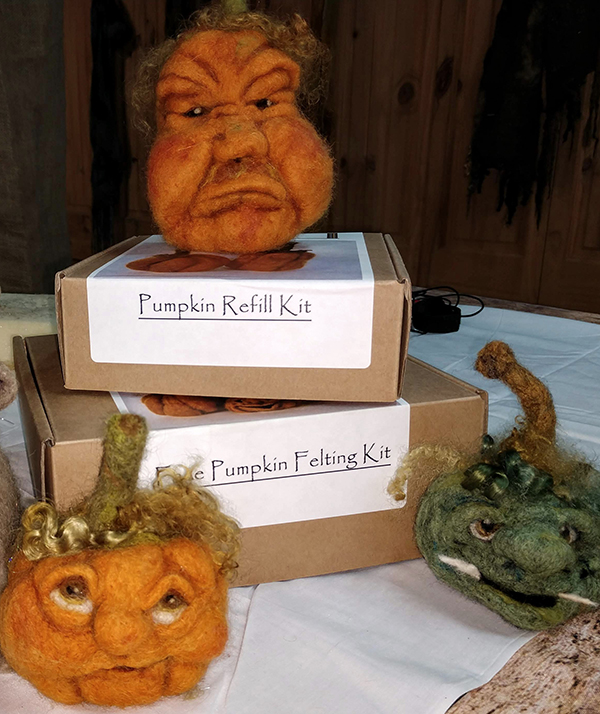
If you don’t want to purchase a bunch of supplies before you know for sure you will enjoy this process, purchasing a kit that has everything you will need to get started is a very economical way to begin.
Purchase Felting Kits, click here.
Needles
*The larger the gauge (diameter) of the needle the thinner it is and the smaller the barbs will be on the needle. The more barbs there are on a needle the quicker and more aggressively it will felt, but it will also leave a more visible punch hole and may not be as accurate for tiny detail work.
Star – 4 sided needle aggressive felter, has more sides = more barbs.
Spiral – very aggressive felter but not good for use with a mettle armature as it seems much more delicate due to the spiral, even with the smaller gauge, it tends to break easily. But still my favorite needle to use. It has a smooth feel to it when your using it.
Triangle – 3 sided, sturdy needle, less sides also = less barbs. a 42 gauge triangle needle might work best for detail work as it has fewer barbs. Good for eye detail.
Reverse – will pull fiber out (barbs are pointed in opposite direction). Use once you have securely felted your project to add a hairy or furry effect to your project.
There is also a crown needle and forked needle. I have not used either. They seem to be favorites of doll makers for putting hair on the dolls.

Storing needles in a pepper shaker with a bit of raw fiber in the bottom, keeps your needles handy, organized and bonus, the lanolin (natural oils) in the wool will keep your needles from rusting!
Felting Surfaces
Felting Pad – There are loads of options here. Many felting stores sell nice compressed felting pads, click here. You can also purchase chair cushion material at a fabric store and use an electric knife to cut it in to the desired size. This cushion usually is not as dense however and will quickly fail by leaving large divots or breaking off/sheading into your project. However it does work in a pinch.
Rice Bag – Sew several layers of burlap together in a rectangle leaving room for a funnel at one corner. Fill bag with rice using the funnel. Stich up corner. Can replace top of bag with a new piece of burlap for each project and use quilting clips to secure to your pad. May be able to find a drawstring burlap bag to use instead of sewing one, but would work best if had several put together, because one layer really isn’t enough.
Felting Chunky – A felted square or rectangle that is so densely felted that it no longer allows things to felt to it, but will let the needles glide through it. Easy travel felting pad.
Types of Fiber
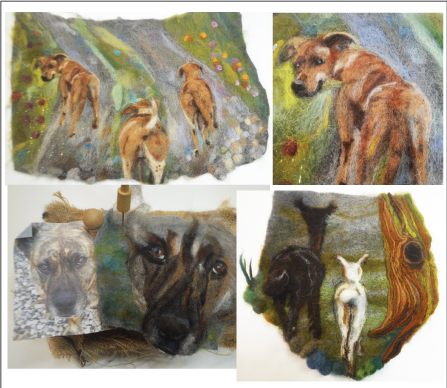
Alpaca – I am biased, but clearly the best fiber in the world! Alpaca works fine for needle felting, however it tends to be a little Hairier (soft hairy not course hairy). Not great for making dense items or sculpting as it is too fine. Best used for small surfaces (like detailed fiber painting, where you are using small bits for each color needed), click here for sample. Or for making the pelts on felted animals. Suri fiber is also great for doll hair or horse or lion manes.
Corriedale Sliver– Best fiber I have found for needle felting, It felts quickly and is great for making dense, thick sculpture pieces. Easy to manipulate and comes in loads of colors, click here.
Core Fiber – Usually a courser, shorter staple sheep wool. Great for core sculpting.
Combed Top – Usually Merino Sheep, better for wet felting. Stable is too long and leaves punch marks and has a stringy, unfinished look to it when needle felted. However, it can be used with great effect for making long hair on something. Like the tuft of hair on a cats cheek.
Decorative bits – Can also add, Mohair curls, Firestar, Angelina, Bamboo or other silky cellulose fibers for effect, sparkle and texture to your needle felting projects.
Needling Techniques & Tips
~Always keep your eyes on your project when needling
~Always poke or stab straight down. Do not poke then bend the needle in an angle
Deep Needling – Stab straight down with a good punch to change shape and density of felt.
Surface Needling – A more gentle poke just through the very top layer is good for adding colors with out changing shape.
Deep Line Needling – Stabbing down the same path or in the same place will cause a crevice or depression that can be used to create depth or definition. Can gently use needle to guide the fiber in place before poking.
Flat Felting – Lay suitable layers of fibers across felting surface and needle the whole thing. Carefully pick the fiber up, and flip to needle other side. Continue to do this until your fiber becomes smooth and dense and does not stick to the sponge as much.
Creating a nice edge on flat felt – Create a nice line in your felt by needling in the same line over and over again. Fold the smaller edge over the line and needle into place. If you want to create a “fat lip edge” needle just behind the fold and continue to roll and fold and needle behind fold until you get the thickness you want.
Felted Ball or Log – You can tie a few knots in roving to start a dense ball, Fold fiber over the knots and needle, always turning to hit all sides as you needle. To create a log you can tightly roll with hands to form a log or start by wrapping fiber around a dowel, toothpick or skewer. Adding fiber until you get to your desired thickness. Remove dowel and needle and roll on pad, hitting all sides until smooth. Roll in hand to really smooth it out.
Thin Felted String for details – Pull a tiny sliver of fiber and roll it across a sponge, or wet your fingers and roll on a flat surface until it turns into a tight string. Good for small eye details.
Fiber Boogers – Wet fingers with sponge and roll a tiny amount of fiber between your fingers. Great for small details like eye sparkle.
Other handy extra tools to have available
wet sponge – to moisten hands when rolling a fier string or fiber booger.
Dowels, toothpicks or skewers – to help make tube shapes
Scissors – To trim bits that are too long and get rid of fuzzies when finished
Ruler – To measure fiber when having to repeat same step over and over.
Check out the New Felting Videos Available for purchase in our online store
Needle felting classes available at Lasso the Moon Alpaca Farm


Needle Felted Opossum Class

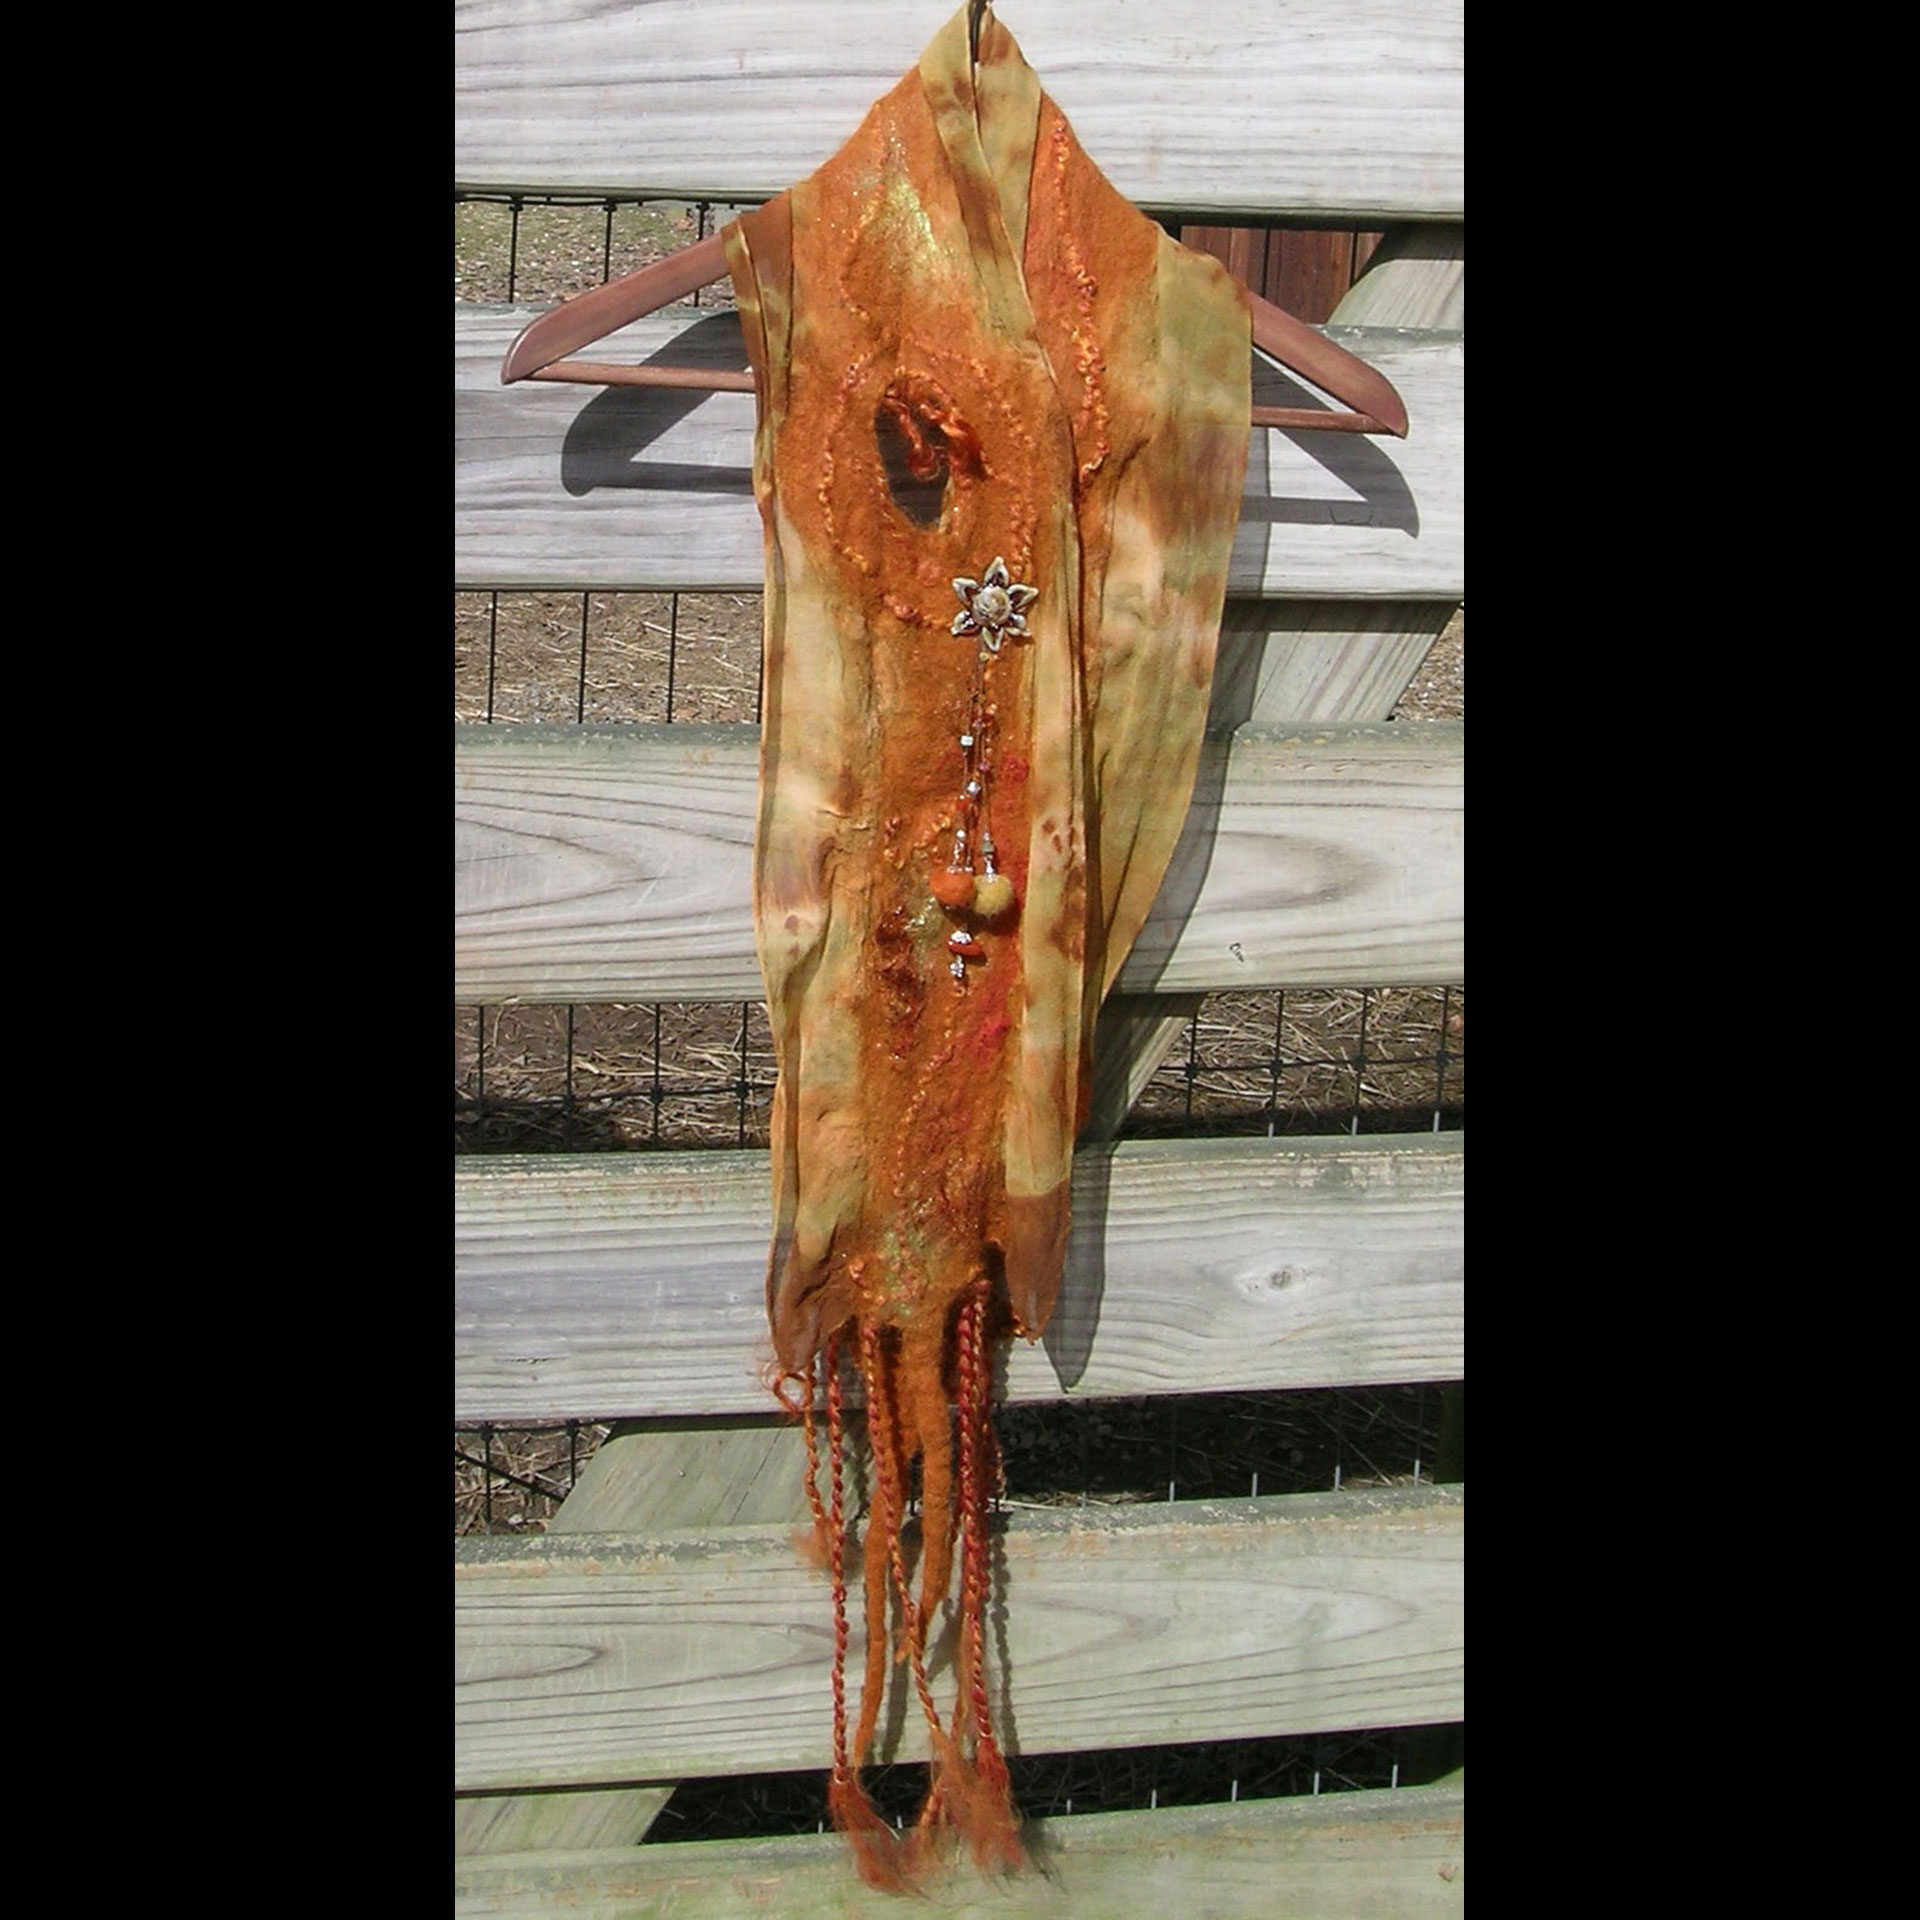
Silk Scarf Dye Class

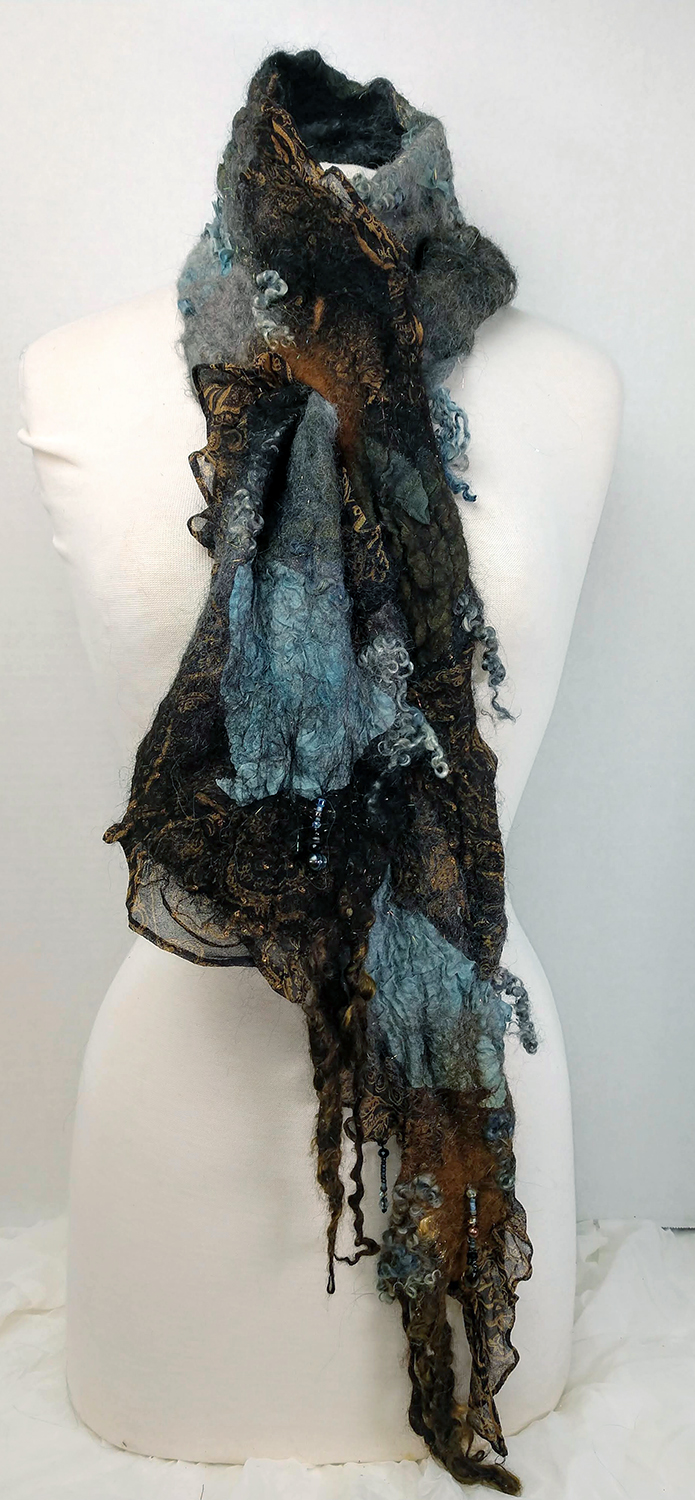
Patchwork Nuno Felted Scarf Class
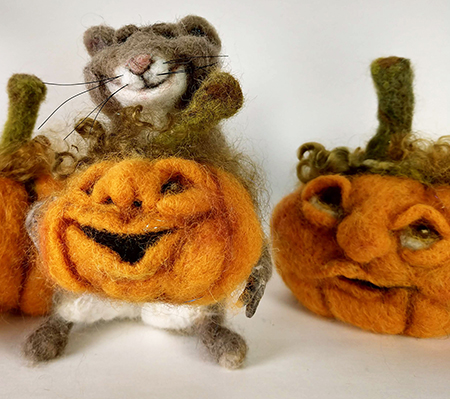
Needle Felted Mouse Class
Paint with Fiber Class
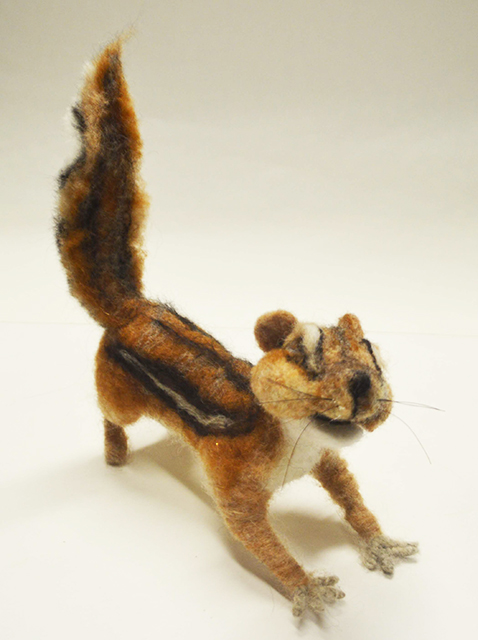
Needle Felted Chipmunk Class

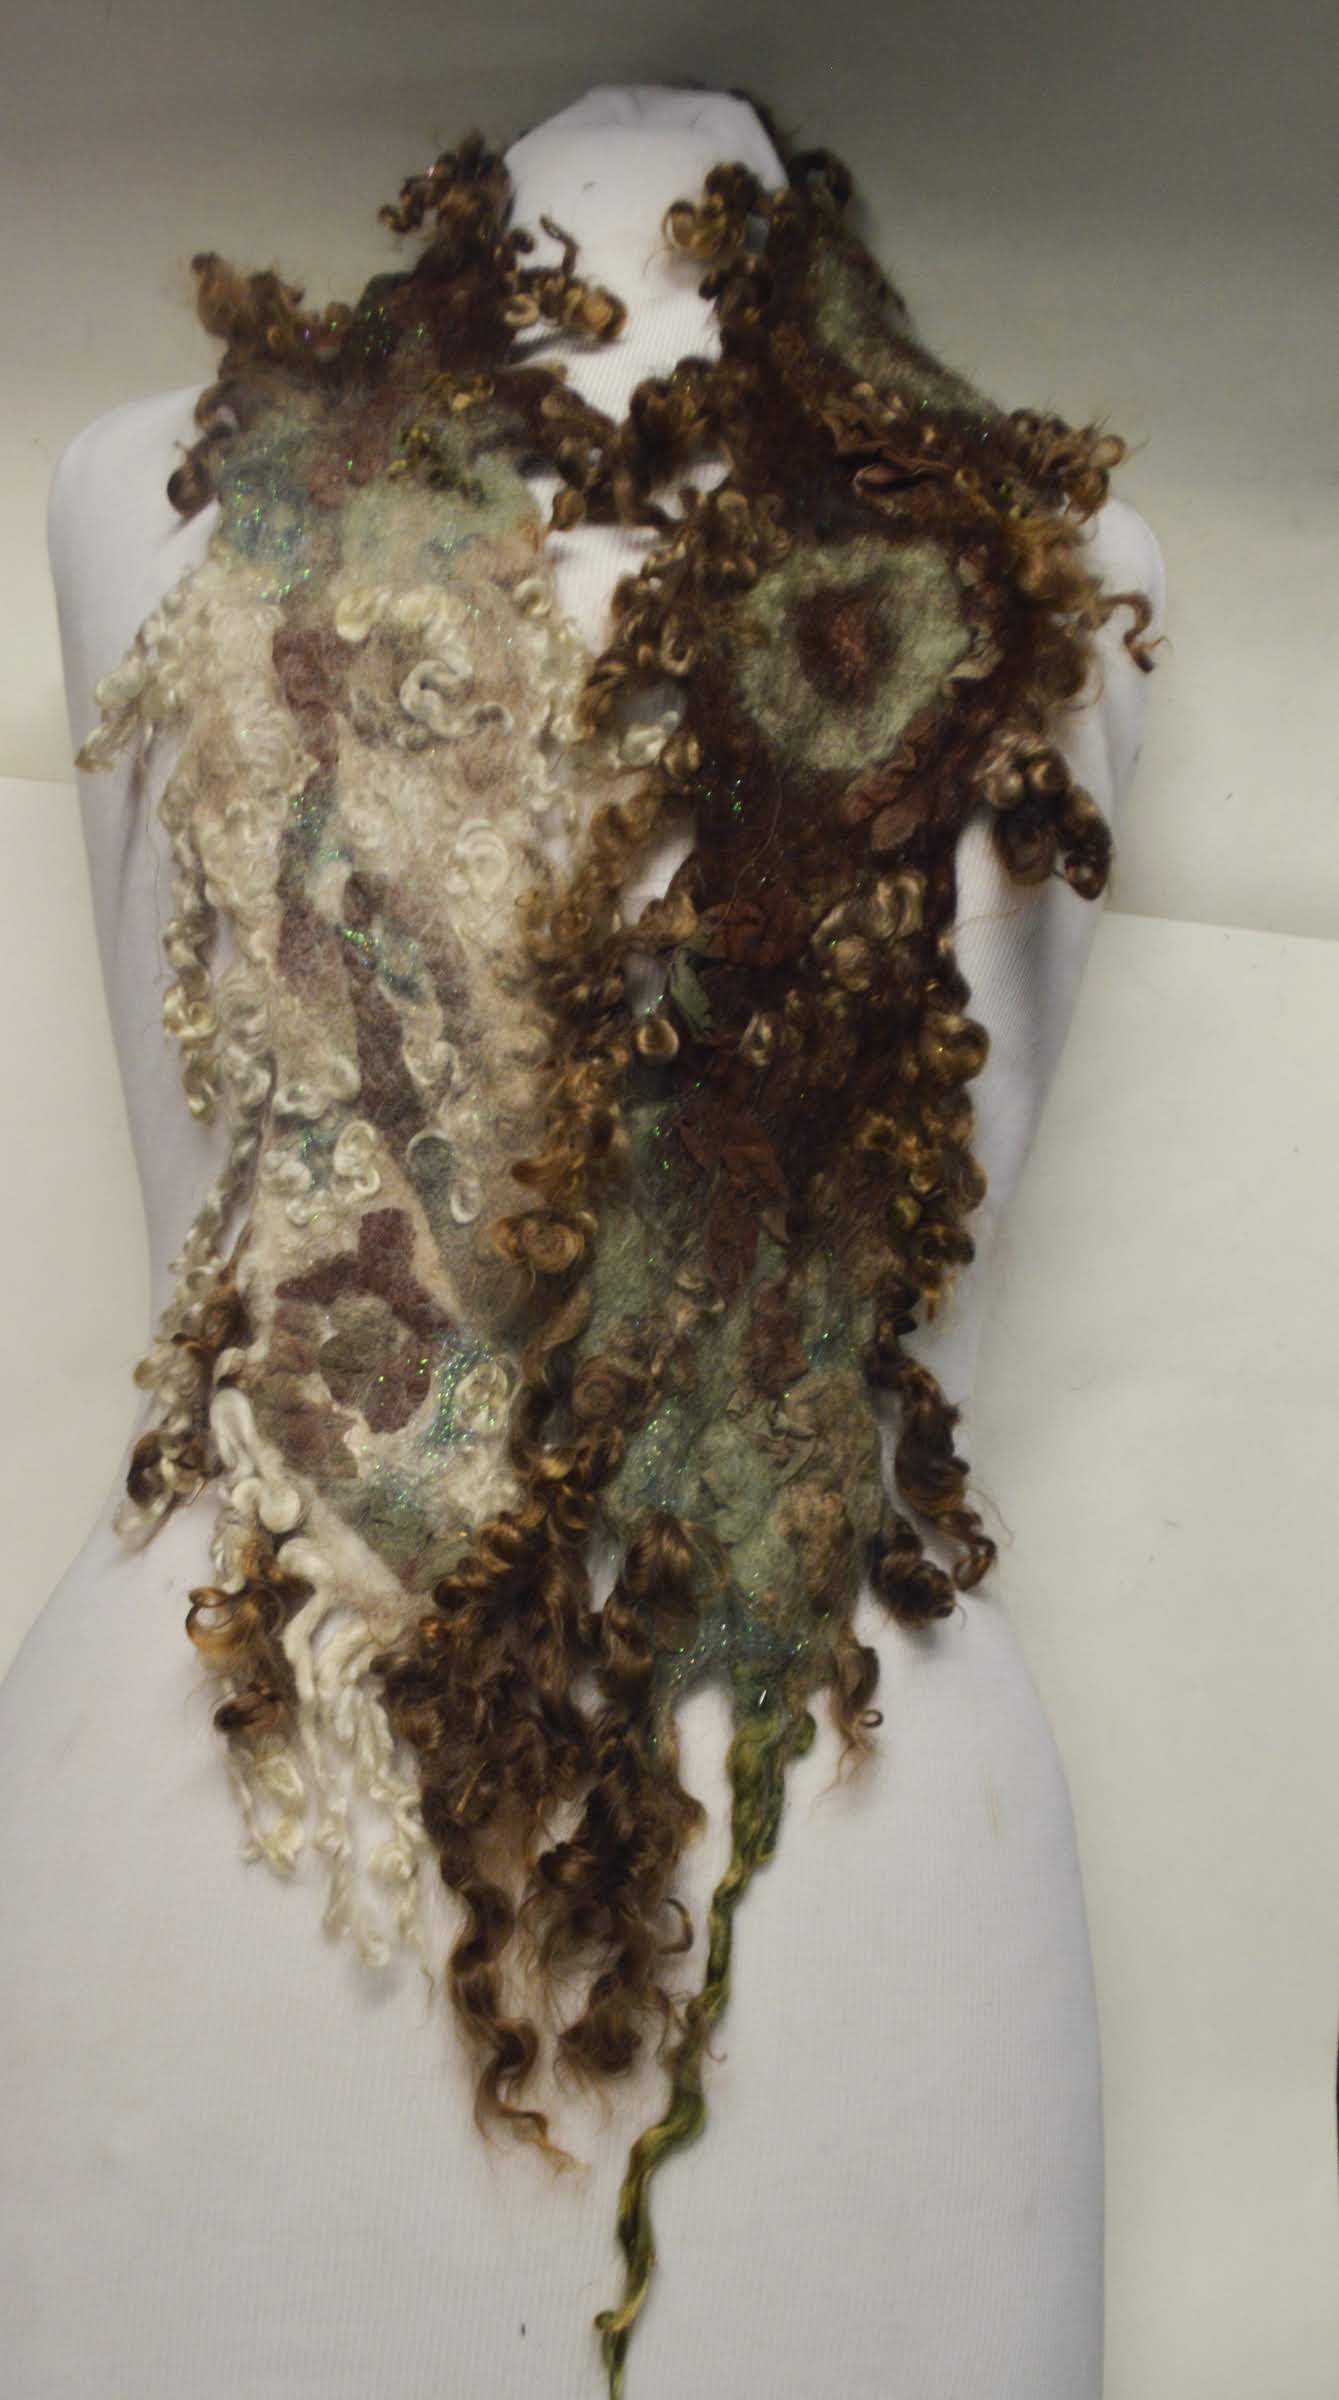
Lots of Locks Skinny Felted Alpaca Class
Nuno Felted Scarf Class
Nuno Felted Poncho and matching Wristlets Class

Needle Felted Mouse Class

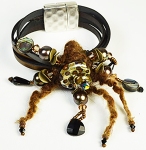
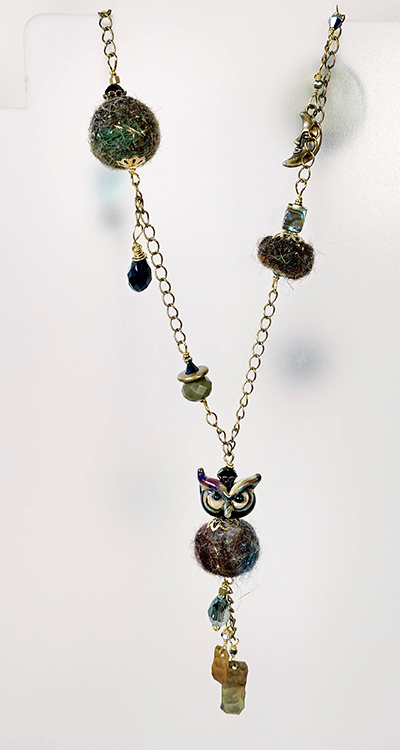
Owl Bead Felted Necklace and Earring Class
Needle Felted Long Eared Jerboa

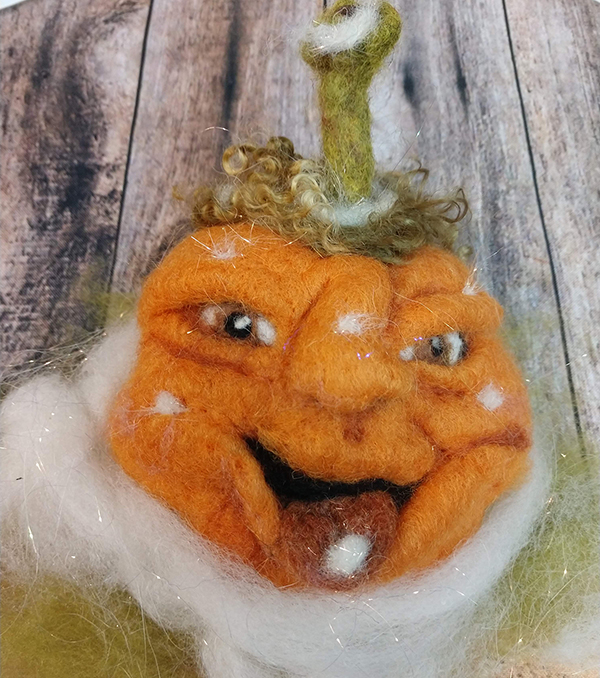
Needle Felted Pumpkin Face Class
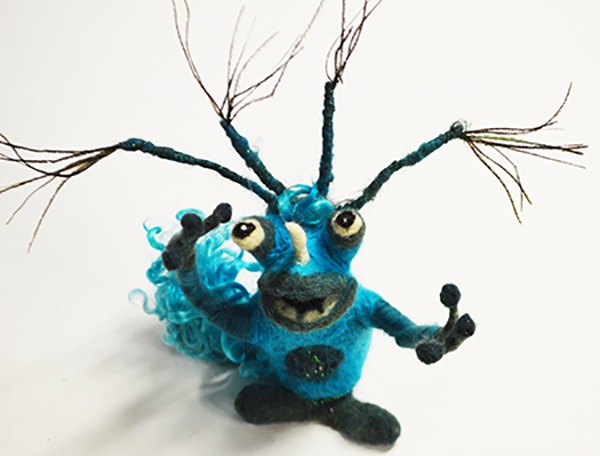
Needle Felted Space Monster Class
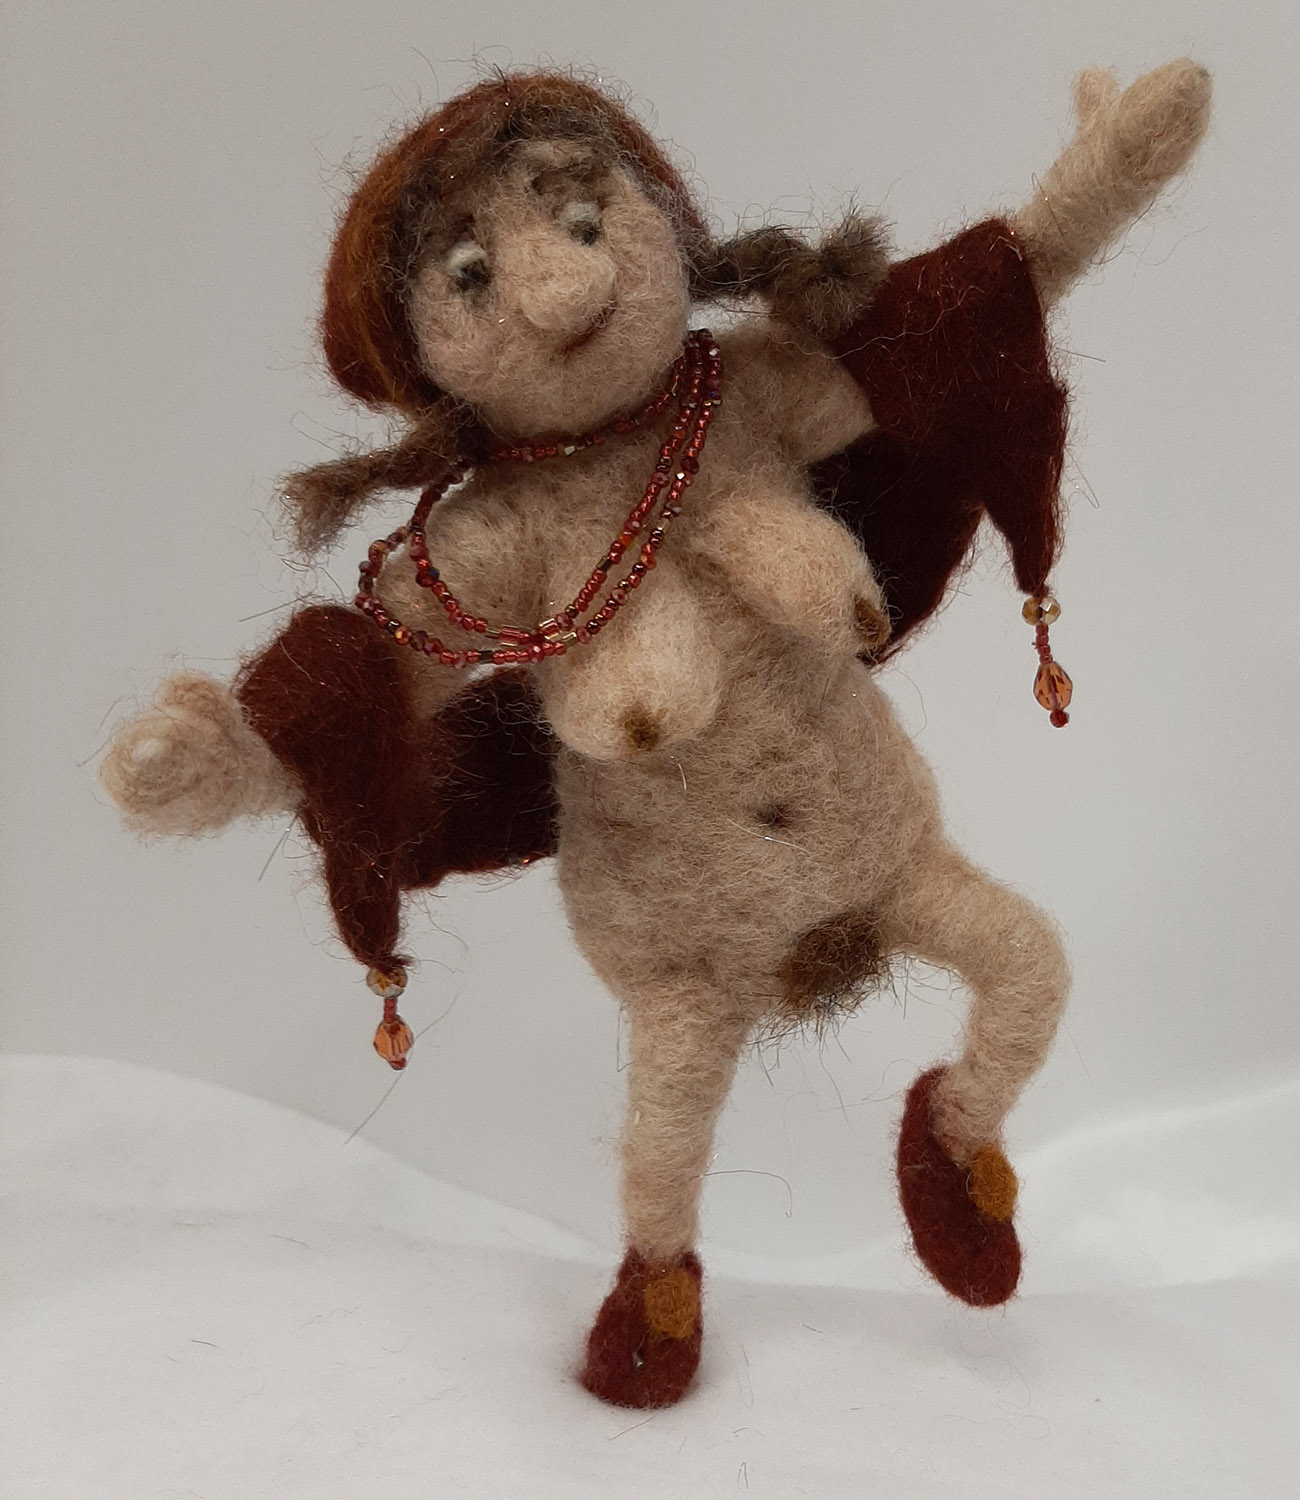
The Naked Truth, Needle Felted Figure Class